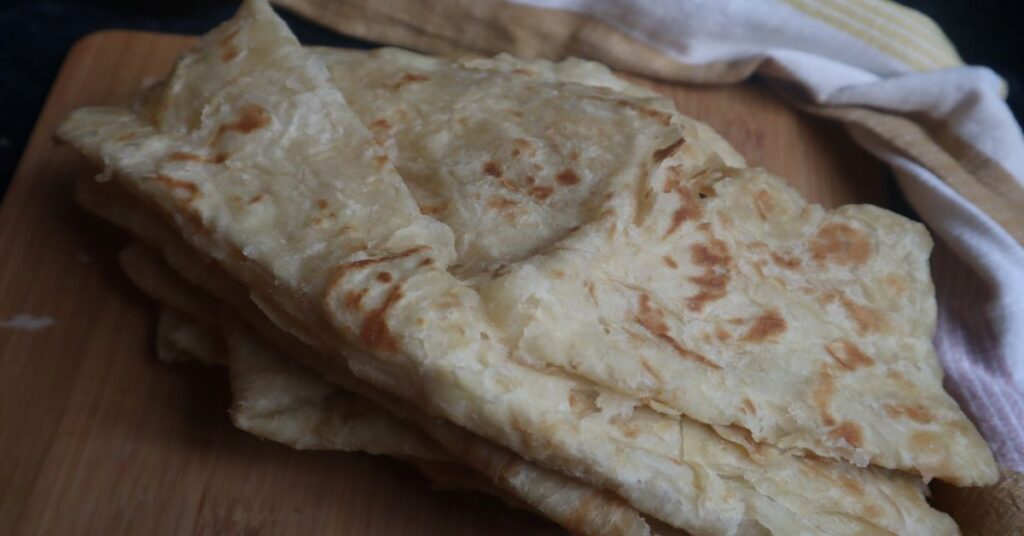
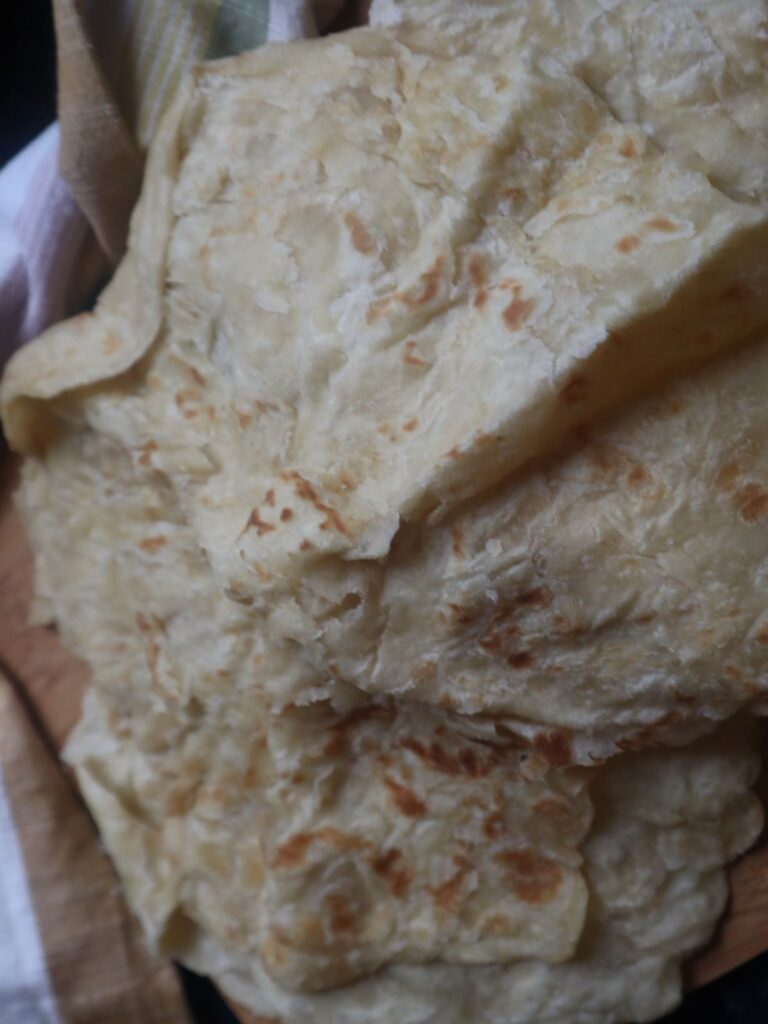
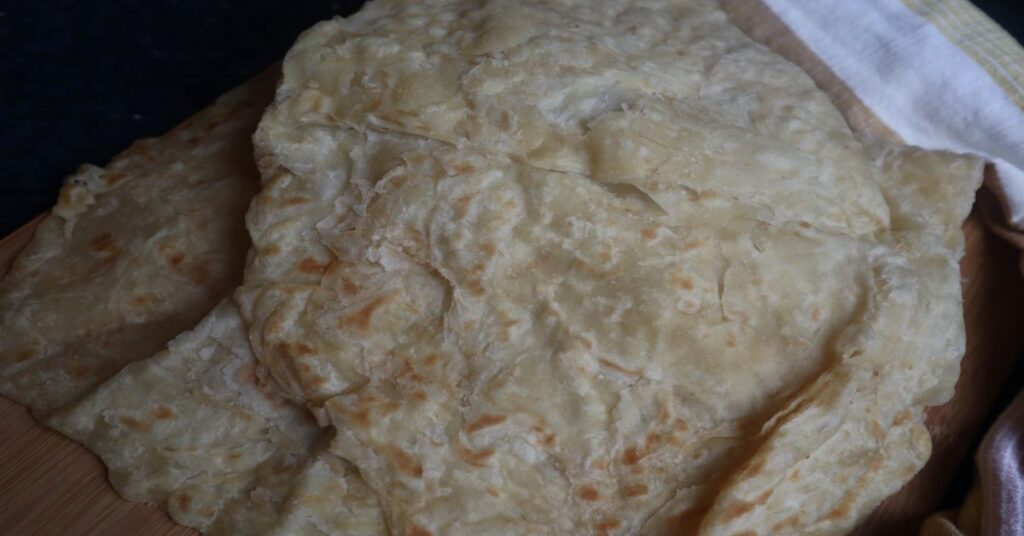
How To Make Paratha Roti From A Trinidadian (Buttery Indian Flatbread Recipe)
Paratha roti, or as we call it in Trinidad “buss up shut” recipe, is a buttery Indian flatbread and me, a Trinidad is going to show you how to make it step by step. Traditionally made on a tawa, but if you do not have one, I recommend using a cast iron skillet to make it.
Jump to RecipeI’ll be doing other roti recipes as well, so this post will be updated to include those links when they are posted. If you would like to see videos, head to my Instagram account and check out the Roti highlight from my IG stories.
Disclaimer & Disclosure: There may be affiliate links in this post. Nothing here should be taken as medical advice. Please consult with a certified dietician or nutritionist about nutritional needs specific to you.
The History of Roti For The Caribbean Diaspora- What’s The Recipe?
This buss up shut roti recipe is dedicated to the Caribbean diaspora who rely on restaurants or those who raised us to get some good roti. When we are no longer in our home country, our food becomes a main connection to our heritage. My aunts and mom, and my grandmother, and every other woman in those generations can make BOMB roti. So after years of trial and error to perfect roti, here it is step by step for you.
Why did it take so long to learn if everyone knows how? Well there is a rather large body of water that separates me from many of my “teachers.” My family doesn’t have a book with passed down recipes, but I do have a blog! Growing up you either have the touch or you don’t, which really means you know how to eyeball your measurements consistently. Recipes are in our heads and hearts. It’s years of connection in the kitchen with our family. It’s laughter and joy, and then one day you magically “have the touch.”
Secret To Soft Roti
- 1 part water to 2 parts flour is the proper ratio
- Use boiling water (like right out the kettle) to create your dough
- Cook roti on high heat
- Don’t cook roti too long or it will get hard
- Follow my recipe exactly and you’ll be fine
After the recipe card I have included step by step instructions with pictures. I also link my Instagram account so you can view my roti highlight which discusses in videos the steps included in this post.
How To Make Paratha Roti From A Trinidadian (Buttery Indian Flatbread Recipe)
Equipment
- tawah or cast iron skillet
- large mixing bowl
- rolling pin
- spoon or flexible spatula for mixing dough
- kitchen towel
- whisk
Ingredients
- 3 cups unbleached all-purpose flour more flour needed to sprinkle on counter tops
- 1 ¼ cups boiling water
- 1 tsp baking powder
- ½ tsp Pink Himalayan salt
- 1 cup softened butter or vegan butter for brushing rolled out dough (may need more of less)
- ½ cup extra virgin olive oil (or oil of choice- vegetable oil or canola oil or avocado oil) for brushing rolled out dough on the tawah or cast iron skillet
Instructions
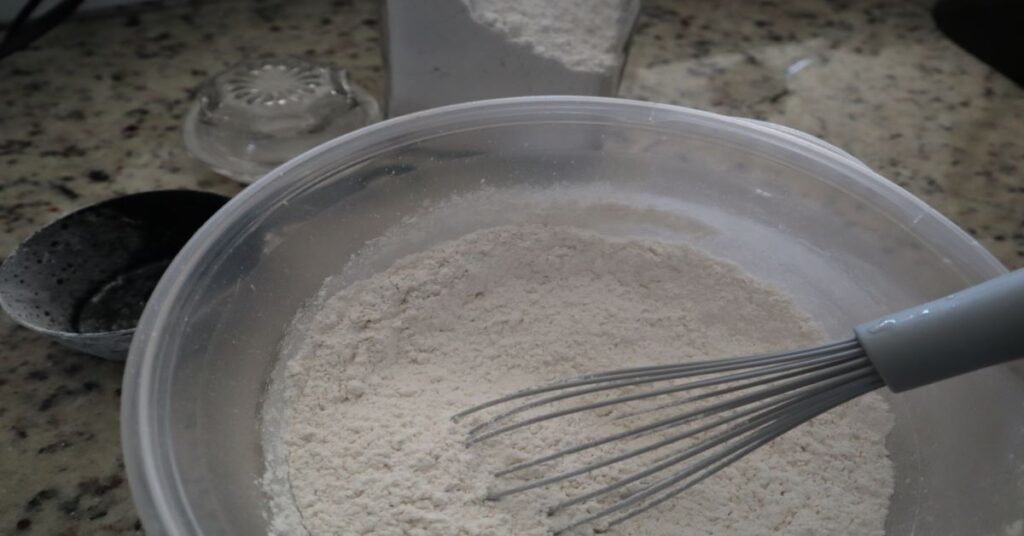
- Whisk flour, salt, and baking powder together.
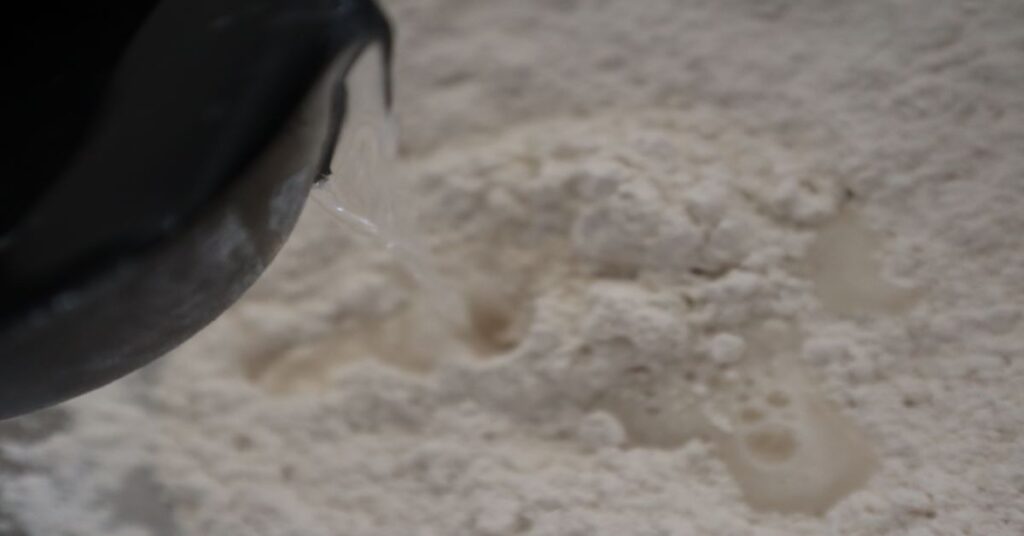
- Next add boiling water using a spoon or flexible spatula to mix in the water to your flour one-half cup at a time.
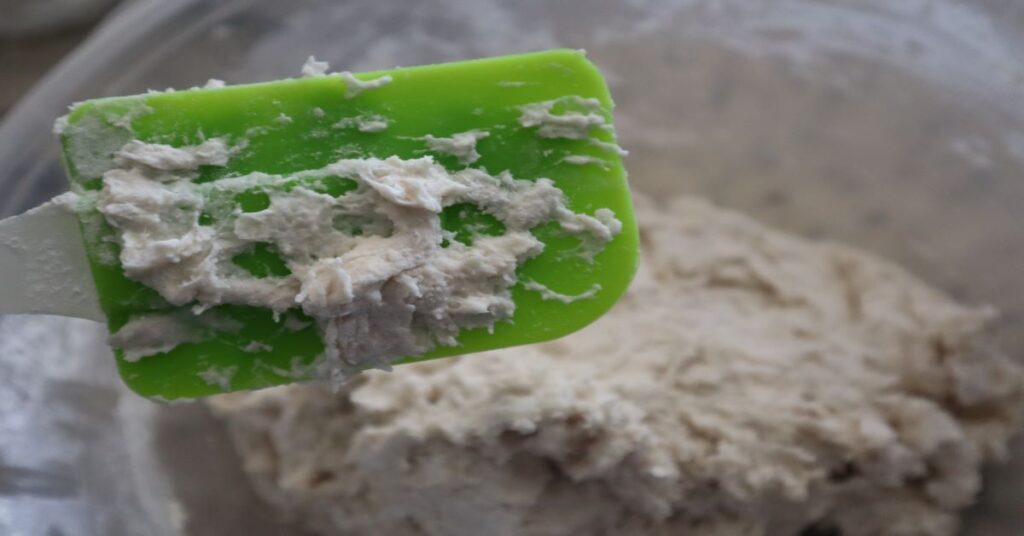
- There may be flour left over in bottom of the bowl so now use your hands to fully incorporate the rest of the flour into the dough.
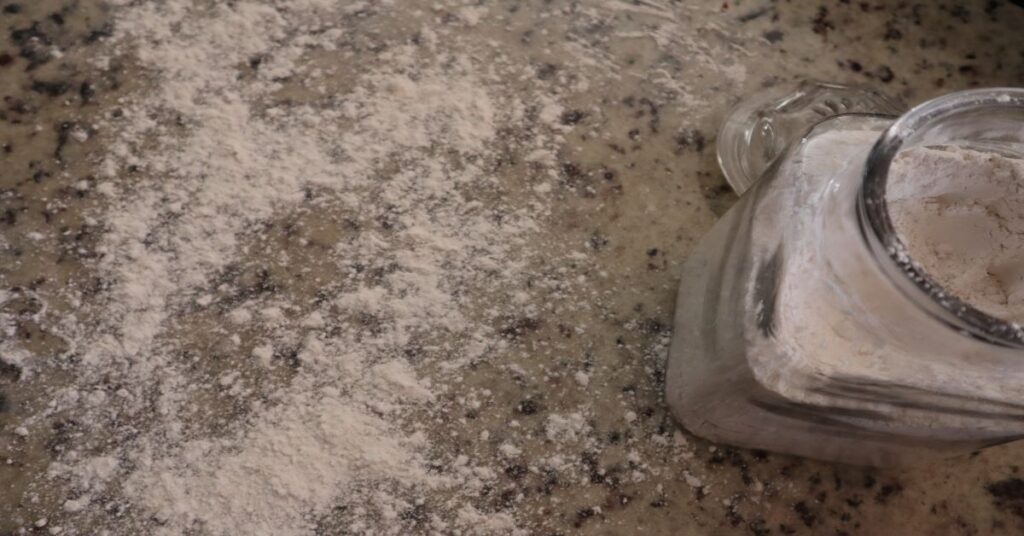
- Put extra flour on your cleaned countertop and gently knead dough. Form a ball. Do not over knead your dough. This isn't a loaf of bread. The extra dough is meant to help the dough not stick to your countertop, so don't over flour it either.
- Rub oil around the ball of dough and place dough back into the mixing bowl and cover with a kitchen towel. Allow to rise for 20-30 minutes.
- After rising, remove from bowl and place back on countertop. You will lightly sprinkle flour down on the countertop again before putting the dough down. Form a log-like shape with the dough a cut 5-6 equal parts.
- Each piece makes one roti so follow the next three steps per roti. Example: Don't roll out all the dough then move to the next step for all 5-6 pieces, rather roll out each piece of dough, oil it down, roll back up, and set aside.
- Roll out each piece. When rolling out the dough make sure your rolling pin is floured and also the countertop. Roll it out as thin as possible without tearing. Make sure the edges are thin also.
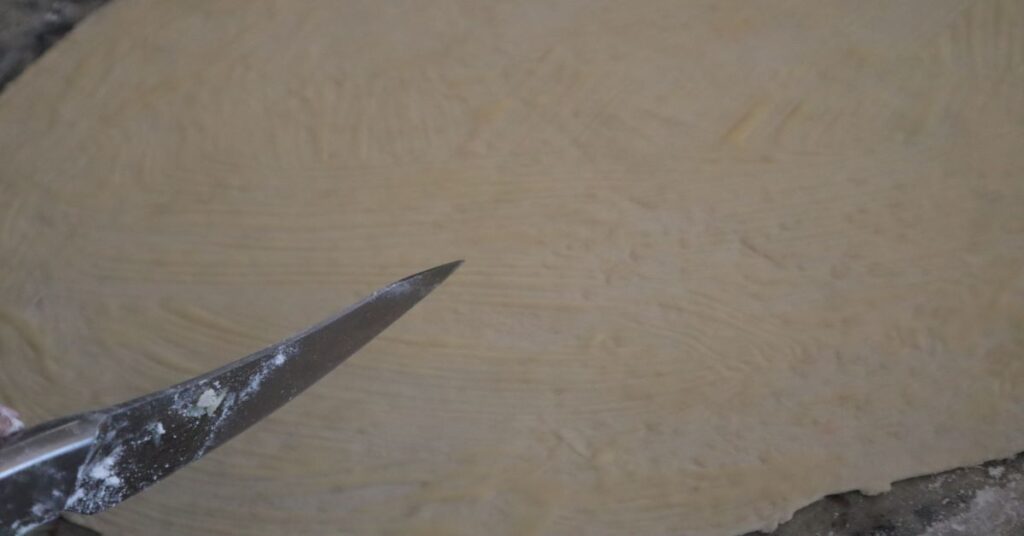
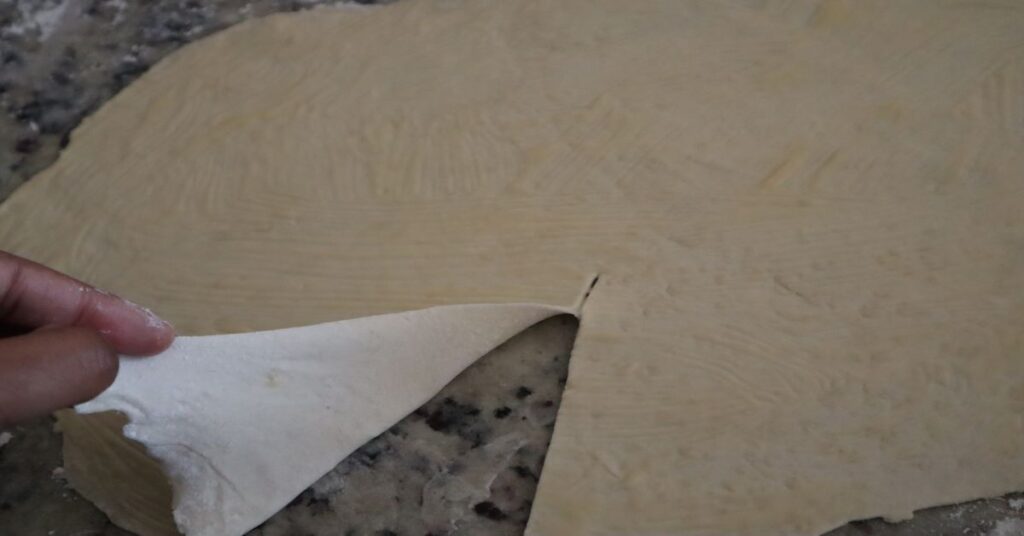
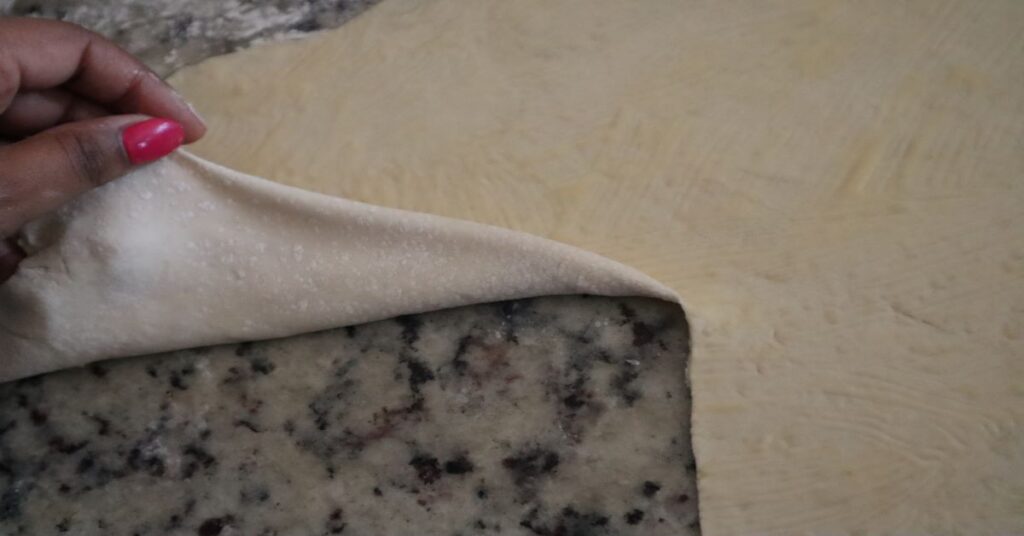
- Oil down the roti. This means brush one side of the rolled out dough with softened butter (or vegan butter). I usually use vegan butter because roti can be healthier and vegan.
- Re-roll the roti. We cut a slit into the dough and roll into a cone shape. Then push large part of one into the top and push down the top. *I like this Youtube video tutorial to show you how thin the roti should be rolled out and also how to re-roll it. If you are on Instagram, go to @thenaturalfoodie_ and in my highlights I have some videos.
- Now put the kitchen towel back over all of the roti dough balls and allow to rise another 20-30 minutes.
- Right before you begin rolling out these pieces of dough is when I recommend heating up your tawah or cast iron skillet. I put mine on medium-high heat, so 7 on my stovetop. Do not add oil or butter to it. That comes later. Additional tip: Just like the steps above perform per roti. When the tawah gets really hot (so like after the first three rotis), I take the tawah off the heat to the burner next to it and then roll out the roti and put tawah back on the heat right before placing rolled out roti onto it. My Instagram highlight on Roti will show you what I did.
- Roll out roti, again paying close attention to the edges. Make sure to sprinkle flour on countertop again like you did before when rolling out the roti. Make it as thin as possible. I recommend start from middle and roll up, then start from middle and roll down, then start from middle and roll out to each side from center. Continue this pattern until roti is very thin. The roti feels very soft and smooth.
- Carefully place roti on hot tawah or cast iron skillet. Immediately brush top side with oil all over including edges. Immediately flip and repeat with brushing oil. Tip: This should take 90 seconds both sides for the entire cooking time of the roti. Go to my Instagram Roti highlight to see how I did it.
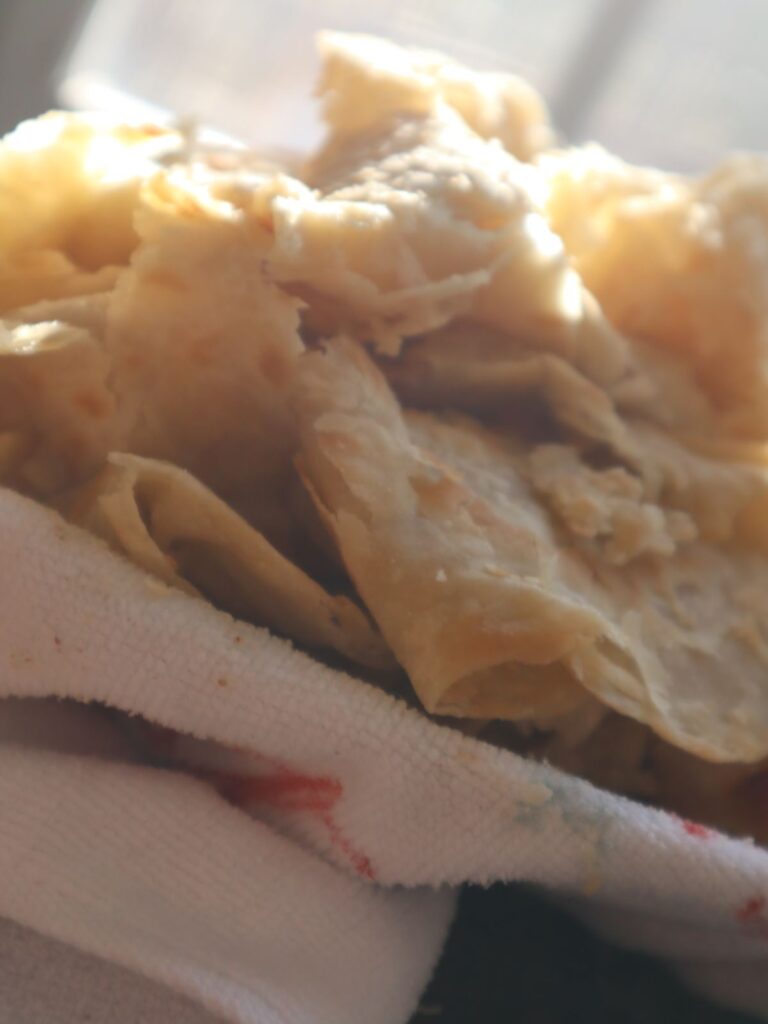
- When you take the roti off the tawah, place it on a kitchen towel and "clap" the roti. See my IG highlight on how to do this, but basically clap your hands together while they are around the towel holding the cooked roti. Then transfer to a large bowl. Your roti is done! Repeat per roti and remember, practice makes perfect! *See the rest of the post for photos included in step by step guide.
How To Make Roti Step By Step (Photo’s Included For Recipe Support)
Ingredients for Paratha Roti
- 3 cups unbleached all-purpose flour
- 1 1/4 cup boiling water
- 1 tsp baking powder
- 1/2 tsp salt
- 1 cup softened butter (or vegan butter)
- 1/2 cup olive oil (or oil of choice- vegetable oil or canola oil)
Step By Step Guide on How To Make Roti
Step 1
Whisk flour, salt, and baking powder together.
Step 2
Use a spoon or flexible spatula to mix in the water to your flour one-half cup at a time.
Step 3
There may be flour left over in bottom of the bowl so now use your hands to fully incorporate the rest of the flour into the dough.
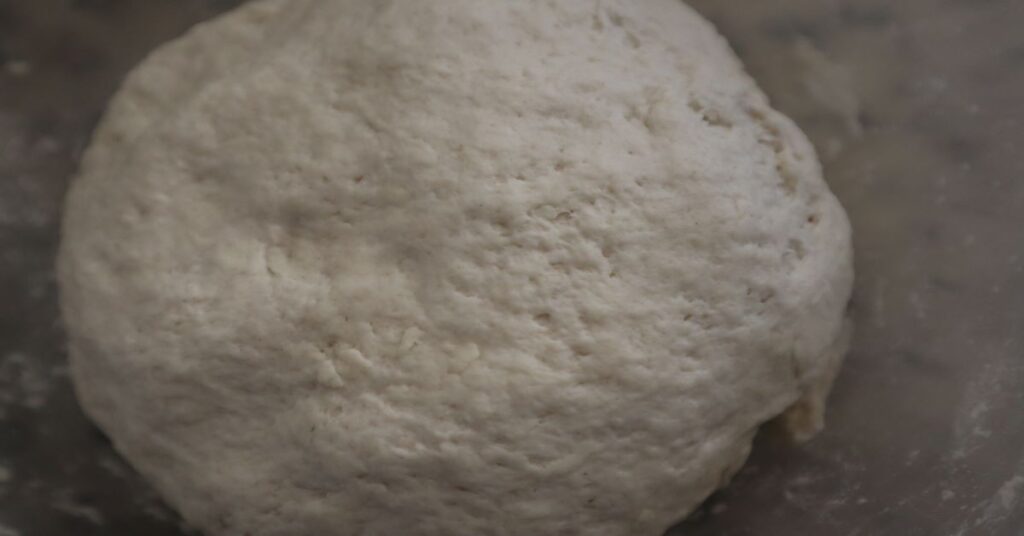
Step 4
Put extra flour on your cleaned countertop and gently knead dough. Form a ball. Do not over knead your dough. This isn’t a loaf of bread. The extra dough is meant to help the dough not stick to your countertop, so don’t over flour it either.
Step 5
Rub oil around the ball of dough and place dough back into the mixing bowl and cover with a kitchen towel. Allow to rise for 20-30 minutes.
Like this recipe? You may want to check these out too. Vegan Recipes, Vegetarian Recipes, Caribbean Recipes
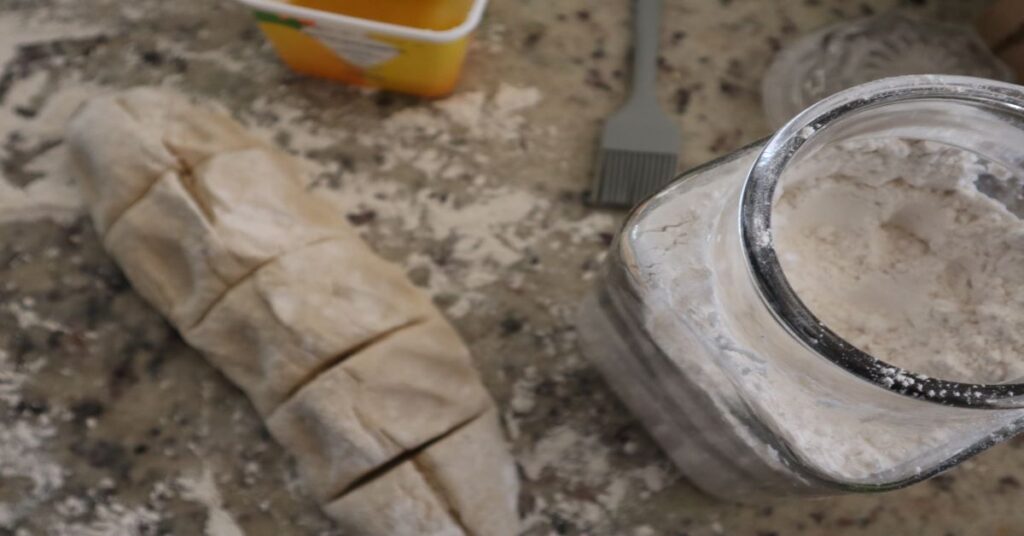
Step 6
After rising, remove from bowl and place back on countertop. You will lightly sprinkle flour down on the countertop again before putting the dough down. Form a log-like shape with the dough a cut 5-6 equal parts.
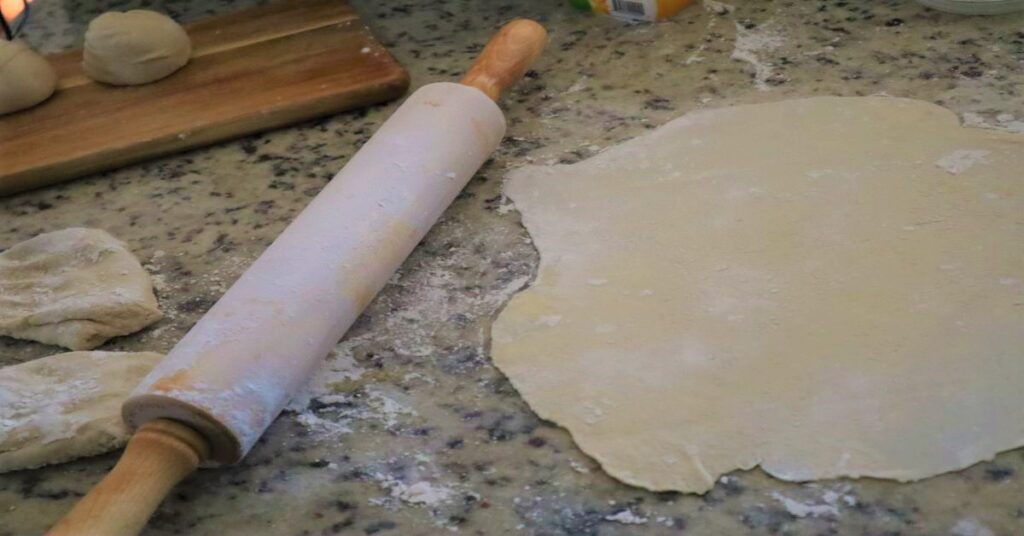
Step 7
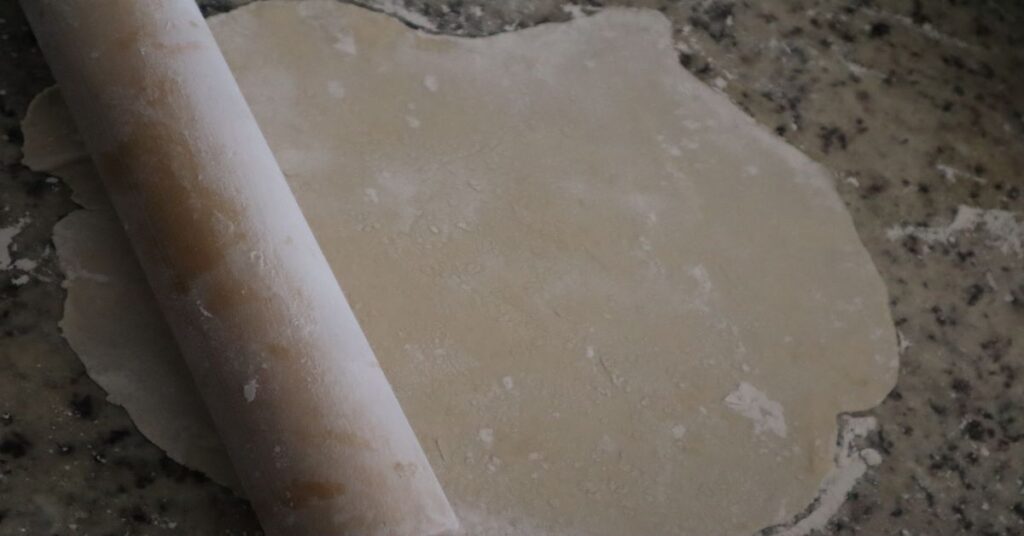
Each piece makes one roti so follow steps 7-9 per roti. Example: Don’t roll out all the dough then move to the next step for all 5-6 pieces, rather roll out one piece of dough, oil it down, roll back up, and set aside.
Roll out each piece. When rolling out the dough make sure your rolling pin is floured and also the countertop. Roll it out as thin as possible without tearing. Make sure the edges are thin also.
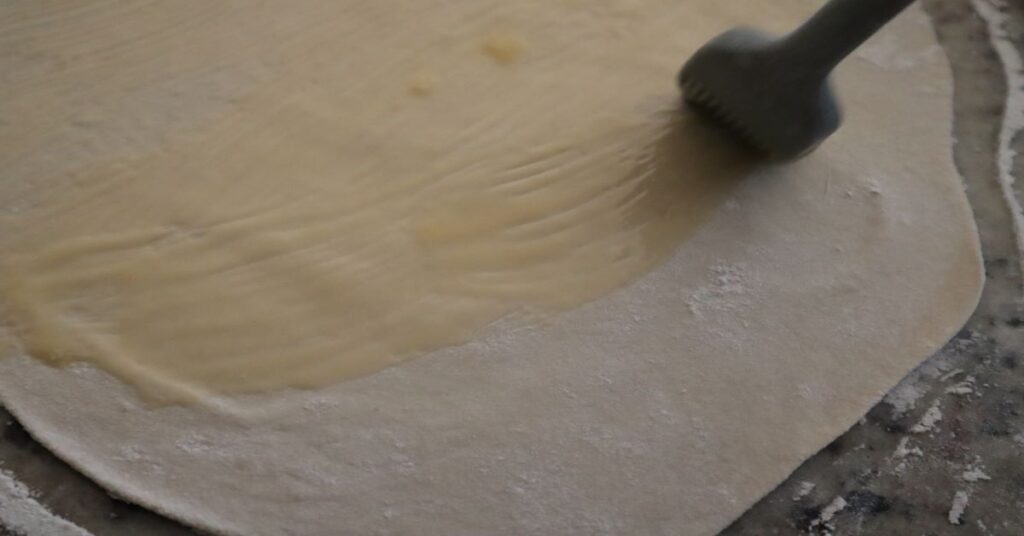
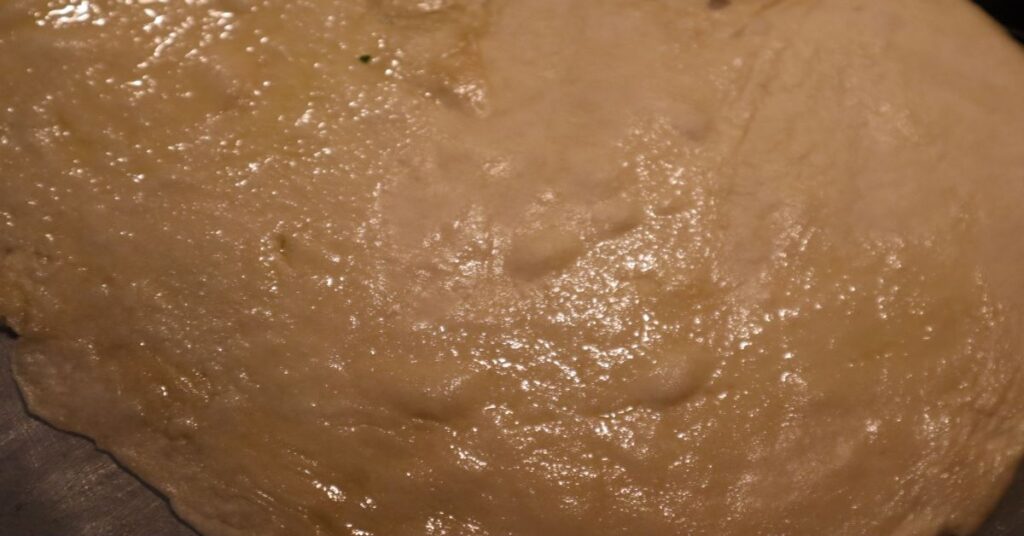
Step 8
Oil down the roti. This means brush one side of the rolled out dough with softened butter (or vegan butter). I usually use vegan butter because roti can be healthier and vegan.
Step 9
Re-roll the roti. We cut a slit into the dough and roll into a cone shape. Then push large part of one into the top and push down the top. Go to @thenaturalfoodie_ on Instagram and in my highlights I have some videos to show you this step and the cooking process. When I do my own Youtube video, I’ll update the link!
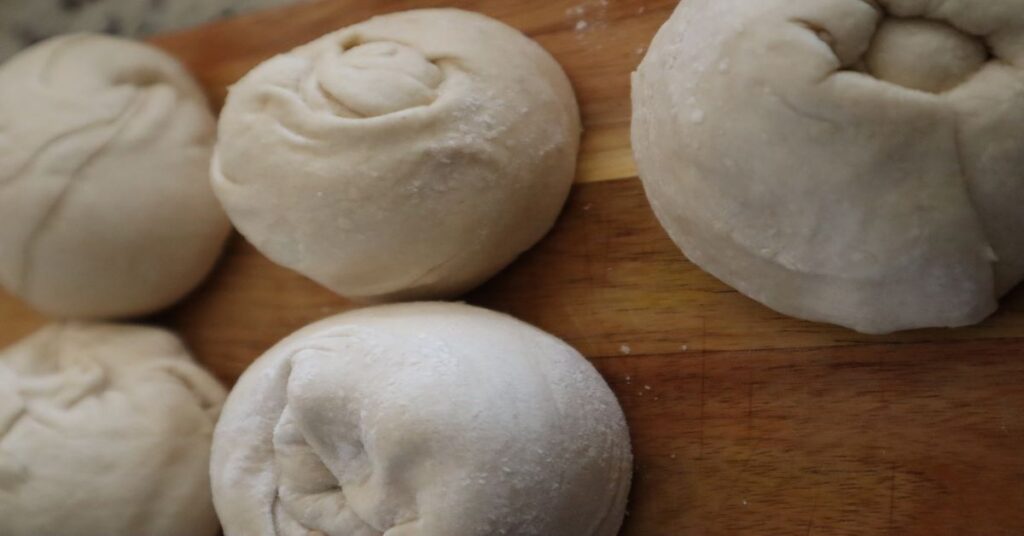
Follow steps 7-9 above for each of the 5-6 pieces.
Step 10
Then put the kitchen towel back over all of them and allow to rise another 20-30 minutes.
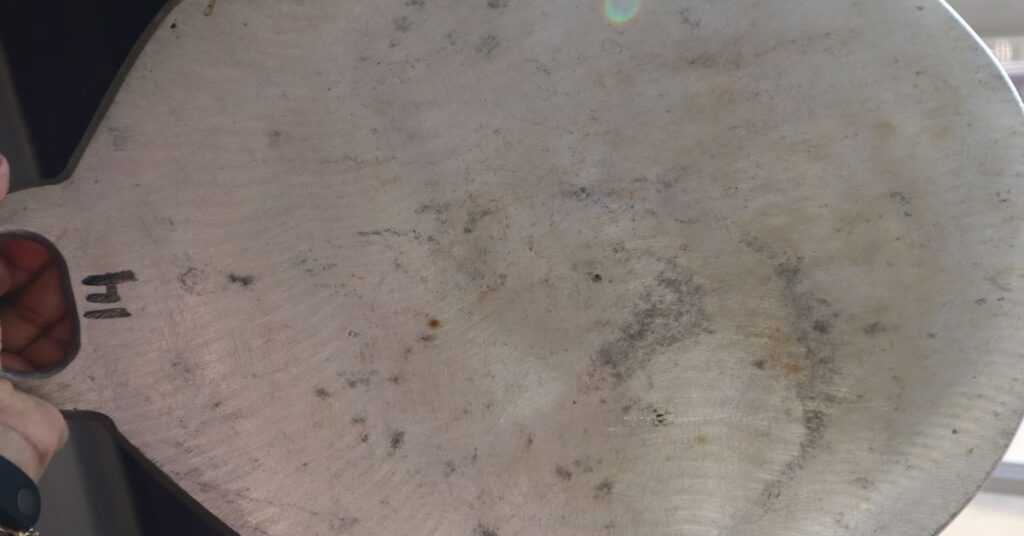
Step 11
Right before you begin rolling out these pieces of dough is when I recommend heating up your tawah or cast iron skillet. I put mine on medium-high heat, so 7 on my stovetop. Do not add oil or butter to it. That comes later.
Additional tip: Just like the steps above perform per roti. When the tawah gets really hot (so like after the first three rotis), I take the tawah off the heat to the burner next to it and then roll out the roti and put tawah back on the heat right before placing rolled out roti onto it. My Instagram highlight on Roti will show you what I did.
Step 12
Roll out roti, again paying close attention to the edges. Make sure to sprinkle flour on countertop again like you did before when rolling out the roti in step 7. Make it as thin as possible. I recommend start from middle and roll up, then start from middle and roll down, then start from middle and roll out to each side from center. Continue this pattern until roti is very thin. The roti feels very soft and smooth.
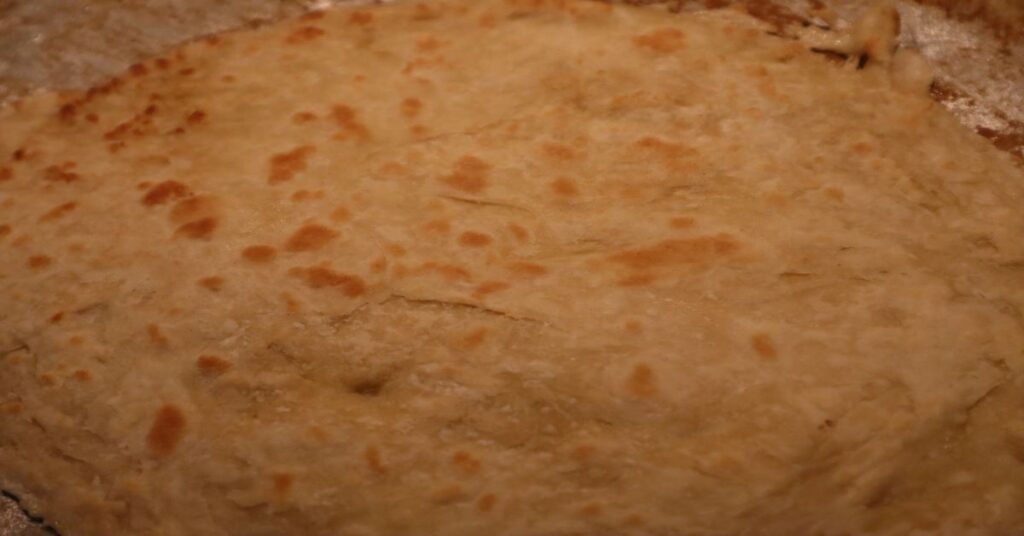
Step 13
Carefully place roti on hot tawah or cast iron skillet. Immediately brush top side with oil all over including edges. Immediately flip and repeat with brushing oil.
Tip: This should take 90 seconds both sides for the entire cooking time of the roti. Go to my Instagram Roti highlight to see how I did it.
Step 14
When you take the roti off the tawah, place it on a kitchen towel and “clap” the roti. See my IG highlight on how to do this, but basically clap your hands together while they are around the towel holding the cooked roti. Then transfer to a large bowl.
Your roti is done! Repeat per roti and remember, practice makes perfect!
GOT QUESTIONS? I’m happy to help. Leave a comment and add some stars to let me know if you enjoyed this recipe. Let me know how you re-created it too. Also, please share it on social media. Tag #thenaturalfoodie. Thanks! -Salei